
Step 1: Prep the Bread
Start by buttering the outside of each slice of bread. This is what gives your grilled cheese that perfectly crispy exterior. If you’re feeling adventurous, you can also spread a light layer of garlic butter for an extra savory touch. Make sure the butter is spread evenly across the entire surface of the bread to get the most consistent crunch.
Step 2: Add the Cheese
On the unbuttered side of the bread, place your slices of cheese. Feel free to use a single type of cheese or mix different varieties to achieve the flavor profile you’re craving. Classic cheddar pairs beautifully with other cheeses like mozzarella or Gruyère for a delightful melt.
Step 3: Assemble the Sandwich
Once you’ve added the cheese, top with the second slice of bread, buttered side out. Press the sandwich together lightly to make sure the cheese is snugly enclosed between the slices of bread.
Step 4: Preheat the Air Fryer
Preheat your air fryer to 370°F (188°C) for about 3 minutes. Preheating ensures that the air fryer reaches the ideal temperature to cook the sandwich quickly and evenly.
Step 5: Cook the Sandwich
Place the assembled grilled cheese sandwich into the preheated air fryer basket. Set the timer for 3 to 5 minutes, depending on your air fryer’s power. After about 3 minutes, carefully check the sandwich. If the bread is golden and crispy, it’s time to flip it. If not, close the air fryer and let it cook for another 1-2 minutes.
Step 6: Flip and Continue Cooking
Carefully flip the sandwich to the other side and cook for an additional 2 to 3 minutes. The exact time will vary based on the thickness of your bread and cheese, so keep an eye on the sandwich. You’re looking for the bread to turn golden-brown and the cheese to be perfectly melted.
Step 7: Serve and Enjoy!
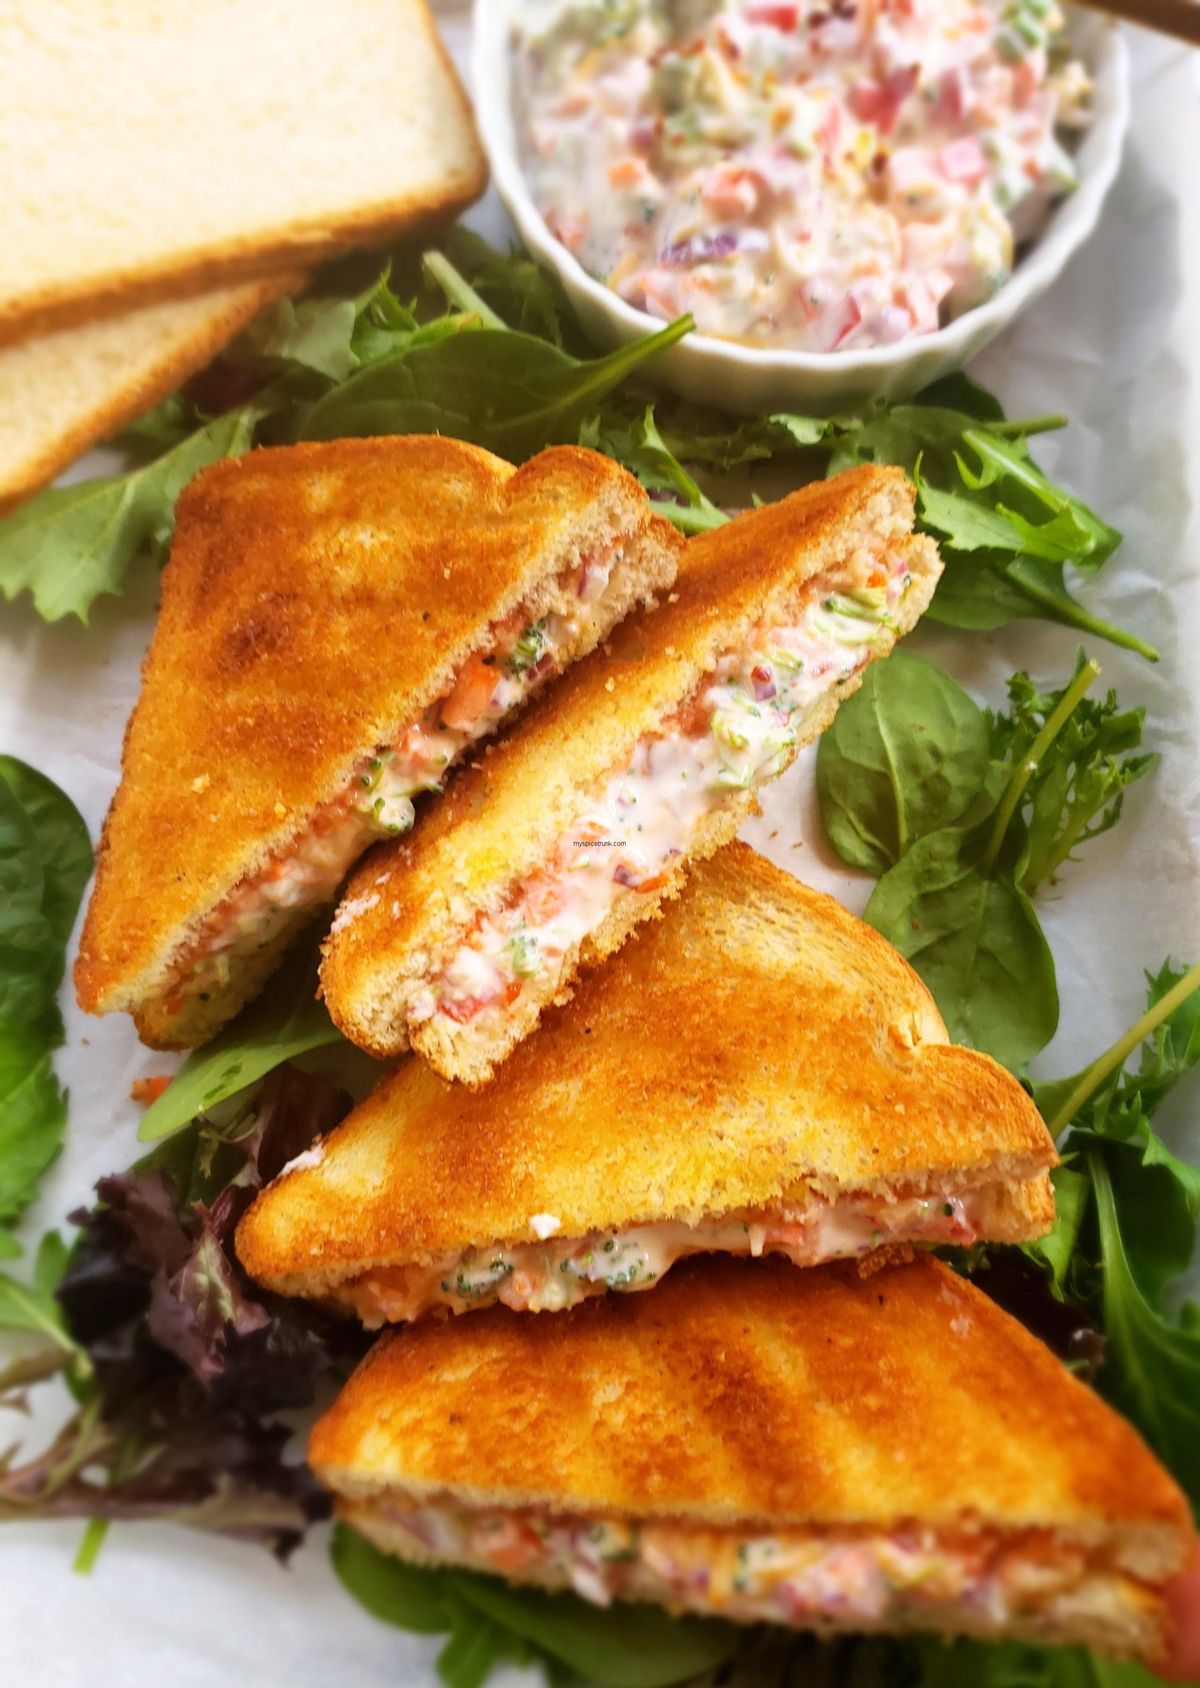
Once both sides of your sandwich are golden and crispy, remove it from the air fryer. Allow the sandwich to cool for just a moment before slicing it in half (or quarters if you prefer). The cheese should be gooey, stretchy, and delightful!
Step 1: Prep the Bread
Start by buttering the outside of each slice of bread. This is what gives your grilled cheese that perfectly crispy exterior. If you’re feeling adventurous, you can also spread a light layer of garlic butter for an extra savory touch. Make sure the butter is spread evenly across the entire surface of the bread to get the most consistent crunch.
Step 2: Add the Cheese
On the unbuttered side of the bread, place your slices of cheese. Feel free to use a single type of cheese or mix different varieties to achieve the flavor profile you’re craving. Classic cheddar pairs beautifully with other cheeses like mozzarella or Gruyère for a delightful melt.
Step 3: Assemble the Sandwich
Once you’ve added the cheese, top with the second slice of bread, buttered side out. Press the sandwich together lightly to make sure the cheese is snugly enclosed between the slices of bread.
Step 4: Preheat the Air Fryer
Preheat your air fryer to 370°F (188°C) for about 3 minutes. Preheating ensures that the air fryer reaches the ideal temperature to cook the sandwich quickly and evenly.
Step 5: Cook the Sandwich
Place the assembled grilled cheese sandwich into the preheated air fryer basket. Set the timer for 3 to 5 minutes, depending on your air fryer’s power. After about 3 minutes, carefully check the sandwich. If the bread is golden and crispy, it’s time to flip it. If not, close the air fryer and let it cook for another 1-2 minutes.
Step 6: Flip and Continue Cooking
Carefully flip the sandwich to the other side and cook for an additional 2 to 3 minutes. The exact time will vary based on the thickness of your bread and cheese, so keep an eye on the sandwich. You’re looking for the bread to turn golden-brown and the cheese to be perfectly melted.
Step 7: Serve and Enjoy!
Once both sides of your sandwich are golden and crispy, remove it from the air fryer. Allow the sandwich to cool for just a moment before slicing it in half (or quarters if you prefer). The cheese should be gooey, stretchy, and delightful!
