
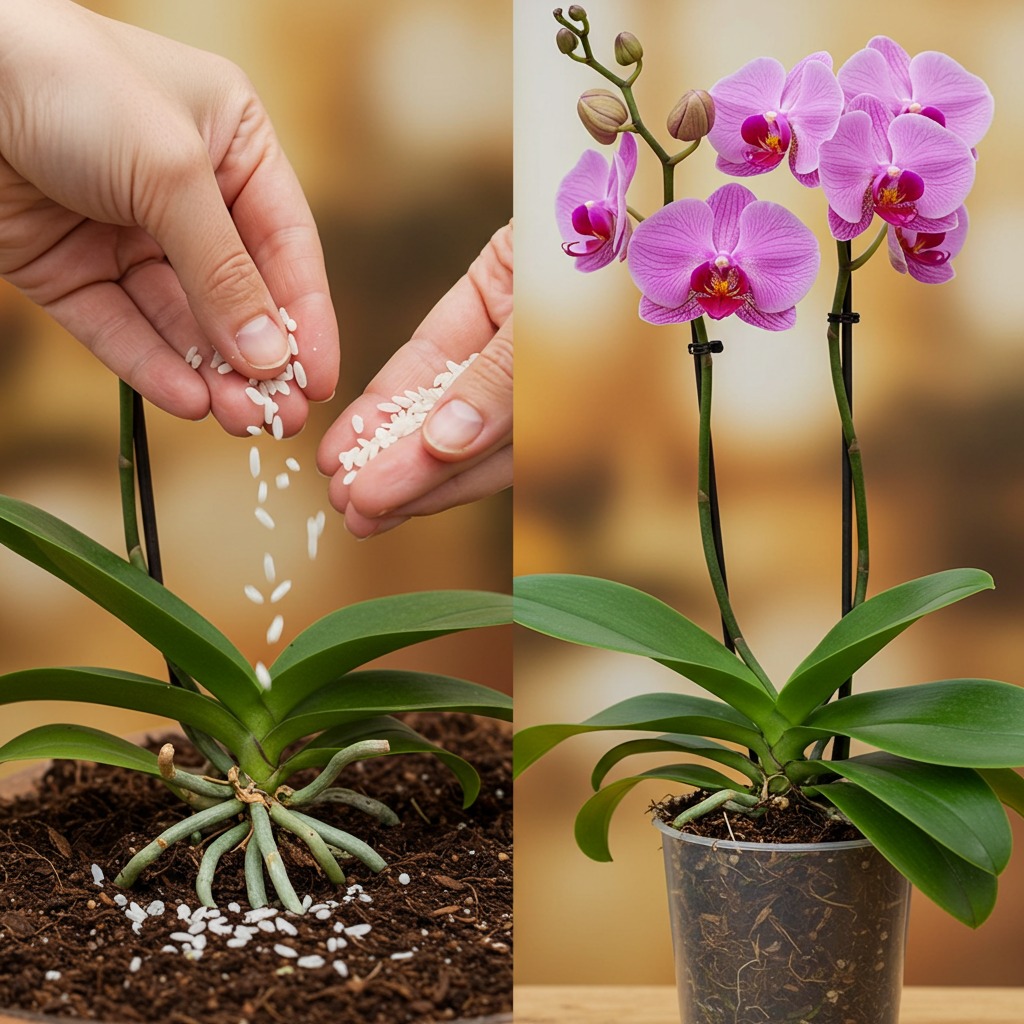
Rice water is an excellent natural fertilizer for orchids because it contains high levels of B vitamins and beneficial microorganisms that promote root growth and overall plant health. Follow these steps to prepare and use rice water effectively:
-
- Mix three tablespoons of uncooked rice with 500 ml of water and let it sit for a few minutes.
- Strain the rice water to remove any solid particles.
-
- Use a soft cotton pad soaked in rice water to gently wipe the surface of the orchid leaf. This allows the nutrients to be absorbed through the leaf, strengthening it against fungal and insect attacks.
- Place the orchid leaf in a container and pour some rice water into it. Let the plant soak in the solution for 30 minutes to stimulate root development.
- After soaking, remove the orchid and spray the remaining rice water directly onto the plant, ensuring that you mist both the upper and underside of the leaves. This step should be repeated every 15 days to maintain optimal health and encourage new growth.
Step 4: Use Garlic for Antibacterial Protection
Garlic has powerful antibacterial and antifungal properties that can prevent infections and accelerate the recovery process. To use garlic effectively:
-
- Crush one clove of garlic and mix it with 500 ml of water.
- Submerge the base of the orchid in this solution for 10-15 minutes to disinfect it and prepare it for the next stage.
- After soaking, remove the orchid and place it in a cool, dry area for one full day to allow the base to dry out. This helps prevent excess moisture that could lead to rot.
Step 5: Prepare a Moisture-Controlled Environment
Once the orchid has been cleaned and treated, you need to create a suitable environment that encourages new root growth.
-
- Take the lid of a plastic bottle and cut a small circular opening in it.
-
- Use a soft cotton pad to help absorb and regulate moisture for the plant.
- Place the orchid inside a glass container and add a small amount of filtered water without submerging the plant’s base. The cotton pad will absorb moisture, keeping the plant hydrated without excess water exposure.
- If the water becomes dirty, change it regularly to maintain cleanliness and prevent bacterial growth.
Step 6: Maintain Proper Growing Conditions
-
- Place the orchid in a cool, well-lit area with indirect sunlight.
- Cut two small holes in a plastic cup and cover the orchid to maintain humidity while allowing air circulation.
- Continue misting the orchid every few days and check its progress.
Step 7: Observe Root Development and Transplant When Ready
-
- After 40 days, the orchid should start developing new and healthy roots.
- Continue following the care routine until the roots have strengthened.
- Once the plant has a strong root system, it can be transplanted into a new pot with pine bark or moss to help it adapt to an outdoor environment.
- Continue watering sparingly and using rice water every 15 days to support continued growth.
Final Thoughts
This method is an effective way to restore orchids that have suffered from damaged roots and yellowing leaves. By properly cleaning, nourishing, and maintaining an optimal environment, your orchids will recover quickly and begin to grow healthy new leaves and roots. If your orchid is successfully revived, be sure to provide consistent care, including proper watering, light exposure, and nutrient supplementation, to ensure that it thrives for years to come.
Try this method and enjoy bringing your orchids back to life!
