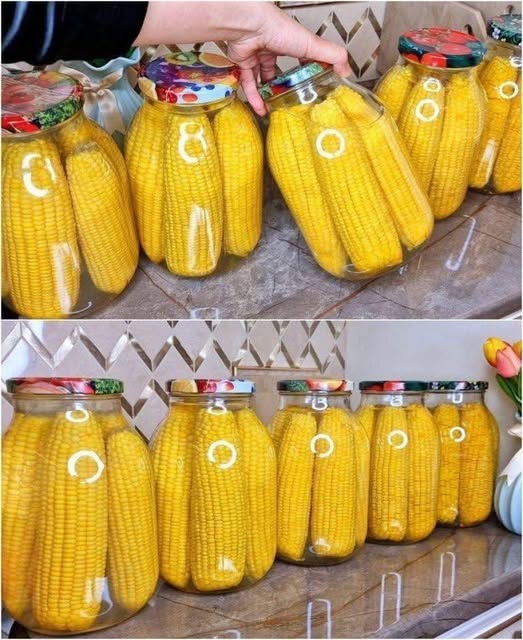
Canning corn at home is a brilliant way to enjoy the sweet, crisp flavor of fresh corn all winter long. With just a few ingredients and a bit of care, you can stock your pantry with golden jars of sunshine that taste like they were picked yesterday. Here’s a professional guide to help you do it right.
🛒 Ingredients
- Fresh corn on the cob (ideally just-picked)
- Water
- Salt (optional, for flavor)
- Sterilized canning jars with lids
🔪 Preparation Steps
- Shuck the corn
- Remove husks and silk completely
- Rinse the ears under cold water
- Blanch the corn
- Boil ears for 3–5 minutes
- Immediately transfer to ice water to stop cooking
- Cut the kernels
- Use a sharp knife to slice kernels off the cob
- Avoid cutting too deep into the cob
🫙 Canning Process
🧂 Raw Pack Method (for crisp texture)
- Fill jars with corn kernels, leaving 1-inch headspace
- Add ½ tsp salt per pint jar (optional)
- Pour boiling water over corn, maintaining headspace
- Remove air bubbles and wipe jar rims clean
- Seal with lids and rings
🔥 Pressure Canning
- Process pint jars at 10 lbs pressure for 55 minutes
- For quart jars, process for 85 minutes
- Adjust pressure for altitude if needed
⚠️ Corn is a low-acid food and must be pressure canned to prevent botulism.
🧊 Storage & Shelf Life
- Store in a cool, dark place
- Shelf life: up to 1 year
- Once opened, refrigerate and use within 3–5 days
🍽 Serving Ideas
| Dish | How to Use Canned Corn |
|---|---|
| Corn Chowder | Add to creamy soups with potatoes and bacon |
| Fritters | Mix with flour, egg, and herbs for crispy bites |
| Salads | Toss with avocado, tomato, and lime |
| Rice Bowls | Stir into Tex-Mex or Asian-style bowls |
✨ Final Thought
Canning corn is more than a preservation method—it’s a way to bottle up the warmth of summer and savor it when the days grow cold. With this simple recipe, you’ll have a pantry full of golden goodness that tastes just like fresh-picked corn.

